
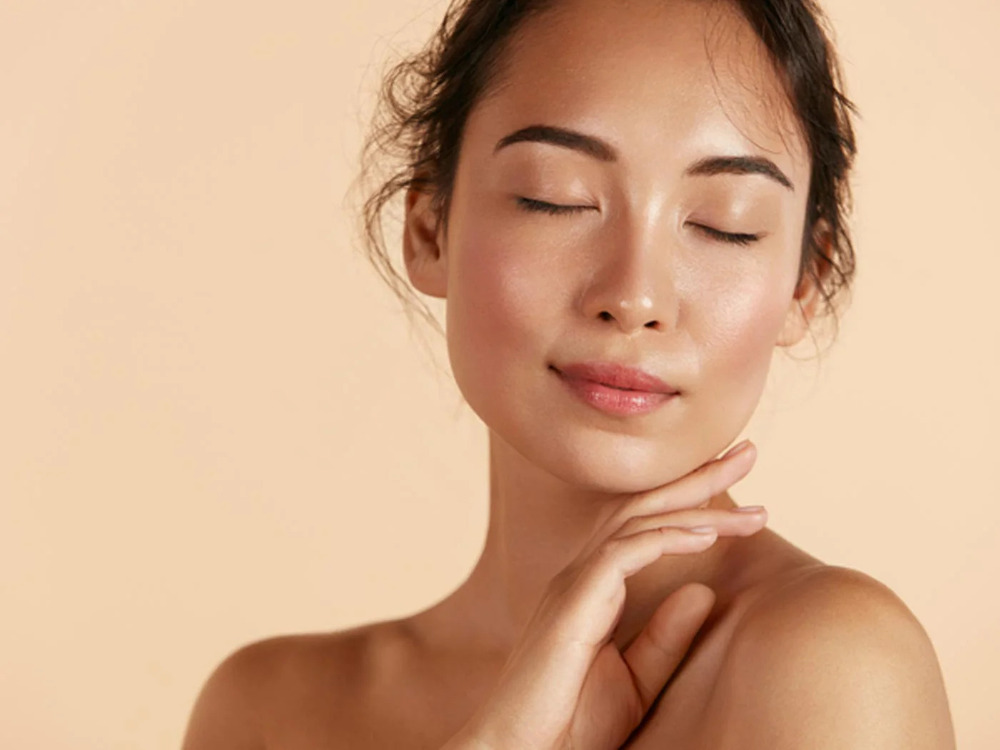
Achieving glowing, radiant skin is a goal for many people, and while there are countless skincare products on the market promising to deliver luminous results, sometimes the best solutions can be found right in your own kitchen. Home remedies for glowing skin have been passed down through generations and are often cherished for their simplicity, effectiveness, and natural ingredients.
These remedies harness the power of nature’s bounty, utilizing ingredients like honey, lemon, yogurt, and herbs to nourish, hydrate, and rejuvenate the skin. Whether you’re dealing with dryness, dullness, or uneven tone, there’s likely a homemade solution that can help restore your skin’s natural radiance.
Honey and Lemon Mask

Ingredients:
- 1 tablespoon orange peel powder
- 1 tablespoon honey
Steps:
Prepare the Orange Peel Powder:
- You can purchase dried orange peel powder from a store or make it at home by drying orange peels in the sun until they become brittle, then grinding them into a fine powder using a blender or grinder.
Mixing the Ingredients:
- In a small bowl, combine 1 tablespoon of orange peel powder with 1 tablespoon of honey.
Mix Thoroughly:
- Stir the mixture well until you achieve a smooth consistency. Make sure the honey and orange peel powder are evenly mixed.
Application:
- Before applying the mask, cleanse your face with a gentle cleanser and pat it dry with a towel.
- Using your fingertips or a brush, apply the mask evenly to your face, avoiding the delicate area around your eyes.
Relax and Let it Dry:
- Once applied, relax and let the mask dry on your face for about 15-20 minutes. During this time, you may feel a slight tingling sensation due to the active ingredients in the mask.
Rinse Off:
- After 15-20 minutes, when the mask has dried completely, rinse it off thoroughly with lukewarm water.
- Gently pat your face dry with a clean towel.
Moisturize:
- Follow up with your favorite moisturizer to lock in hydration and keep your skin soft and supple.
Enjoy the Benefits:
- Your skin should feel refreshed, nourished, and glowing after using this honey and orange peel powder mask.
Frequency:
- You can use this mask 1-2 times per week for best results. However, if you have sensitive skin, it’s advisable to do a patch test before applying it to your entire face.
Storage:
- Store any leftover mask in an airtight container in a cool, dry place. Make sure to use it within a few days to retain its effectiveness.
Remember, natural ingredients can vary in potency, so it’s always a good idea to do a patch test before applying any new mask to your entire face, especially if you have sensitive skin. Enjoy your rejuvenated skin!
Oatmeal and Yogurt Scrub
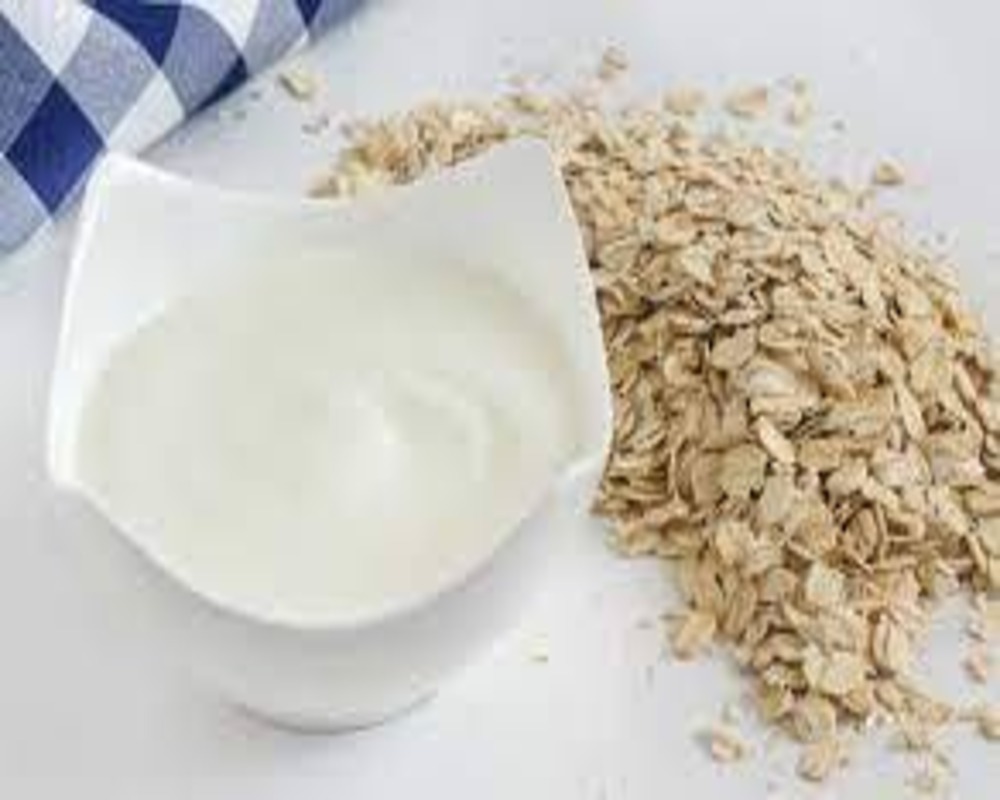
Ingredients:
- 2 tablespoons of ground oatmeal (you can grind rolled oats in a blender or food processor)
- 2 tablespoons of plain yogurt (unsweetened and unflavored)
Steps:
Prepare the Ingredients: Start by gathering your ingredients: ground oatmeal and plain yogurt. Make sure the yogurt is plain and unsweetened, as flavored yogurt may contain additives that could irritate the skin.
Mix the Ingredients: In a small bowl, combine the ground oatmeal and plain yogurt. Stir the mixture well until you achieve a thick, paste-like consistency. You can adjust the quantities of oatmeal and yogurt to achieve your desired consistency.
Cleanse Your Face: Before applying the scrub, cleanse your face with a gentle cleanser to remove any makeup, dirt, or impurities. Pat your face dry with a clean towel.
Apply the Scrub: Using clean fingers or a spatula, apply the oatmeal and yogurt mixture to your damp face. Gently massage the scrub onto your skin using circular motions, focusing on areas that may need extra exfoliation, such as the T-zone or areas prone to dryness or roughness.
Leave on for a Few Minutes: Once the scrub is applied, leave it on your face for about 5-10 minutes to allow the ingredients to work their magic. During this time, the oatmeal will help exfoliate dead skin cells, while the yogurt will provide nourishment and hydration to the skin.
Rinse Off with Lukewarm Water: After the designated time has passed, rinse off the scrub thoroughly with lukewarm water. Make sure to remove all traces of the scrub from your face, gently patting your skin dry with a clean towel.
Moisturize Your Skin: Follow up with your favorite moisturizer to lock in hydration and keep your skin feeling soft and supple. Choose a moisturizer suitable for your skin type, whether it’s dry, oily, combination, or sensitive.
Repeat Regularly: For best results, incorporate this oatmeal and yogurt scrub into your skincare routine on a regular basis. You can use it once or twice a week to help maintain a glowing complexion and keep your skin looking its best.
This oatmeal and yogurt scrub is gentle yet effective, making it suitable for all skin types, including sensitive skin. It helps exfoliate dead skin cells, promote cell turnover, and reveal smoother, brighter-looking skin, leaving you with a radiant complexion that glows from within.
Turmeric Face Mask
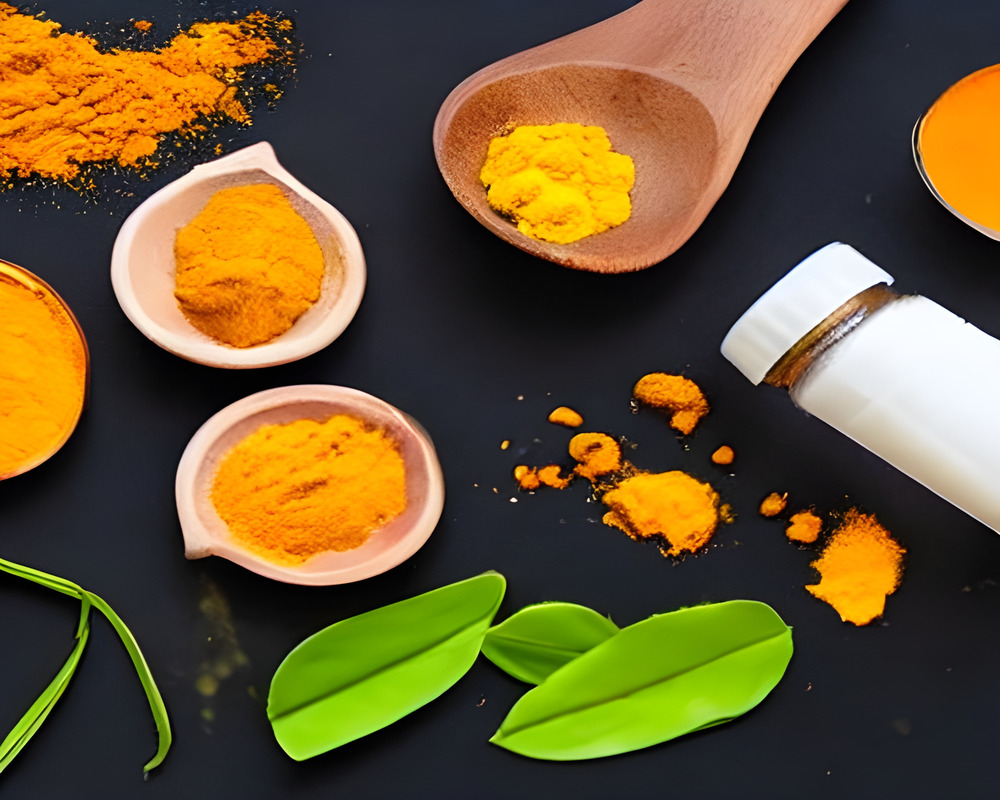
Ingredients:
- 1 tablespoon turmeric powder
- 1 tablespoon plain yogurt or honey (optional)
- A few drops of lemon juice (optional)
Steps:
Prepare the Ingredients: Gather the turmeric powder, plain yogurt or honey, and lemon juice (if using). Ensure that your ingredients are fresh and of good quality.
Mix the Ingredients: In a small bowl, combine the turmeric powder with the plain yogurt or honey. You can adjust the quantities depending on how much you need, but a 1:1 ratio generally works well. If desired, add a few drops of lemon juice to the mixture for added brightness and skin-clearing benefits.
Stir Well: Use a spoon or spatula to thoroughly mix the ingredients until you have a smooth, uniform paste. Ensure that the turmeric is evenly distributed throughout the mixture.
Cleanse Your Face: Before applying the mask, wash your face with a gentle cleanser to remove any dirt, oil, or makeup. Pat your skin dry with a clean towel.
Apply the Mask: Using clean fingers or a brush, apply an even layer of the turmeric mask to your face, avoiding the delicate eye area. You can also apply the mask to your neck and décolletage if desired.
Let it Sit: Once applied, leave the mask on your skin for about 10 to 15 minutes. During this time, you may experience a slight tingling sensation, which is normal. Turmeric has natural anti-inflammatory and antibacterial properties that can help soothe and heal the skin.
Rinse Off: After the designated time has passed, rinse off the mask thoroughly with lukewarm water. You may need to use a washcloth or gentle scrubbing motion to remove any yellow residue from the turmeric. Be careful not to stain clothing or towels, as turmeric can leave temporary yellow stains.
Moisturize: Once you’ve rinsed off the mask, pat your skin dry with a clean towel and follow up with your favorite moisturizer to lock in hydration. Turmeric can sometimes leave the skin feeling slightly dry, so moisturizing afterward is essential.
Repeat Regularly: For best results, incorporate this turmeric mask into your skincare routine once or twice a week. Consistent use can help improve the complexion, reduce inflammation, and promote a healthy, glowing complexion.
Caution: Turmeric can temporarily stain the skin, especially if left on for too long or if you have fair skin. Be sure to rinse the mask off thoroughly and avoid leaving it on for extended periods. If you experience any irritation or discomfort, discontinue use and rinse the mask off immediately. Additionally, lemon juice can make your skin more sensitive to sunlight, so it’s essential to apply sunscreen if you plan to go outside after using this mask.
ALOVERA FACE MASK
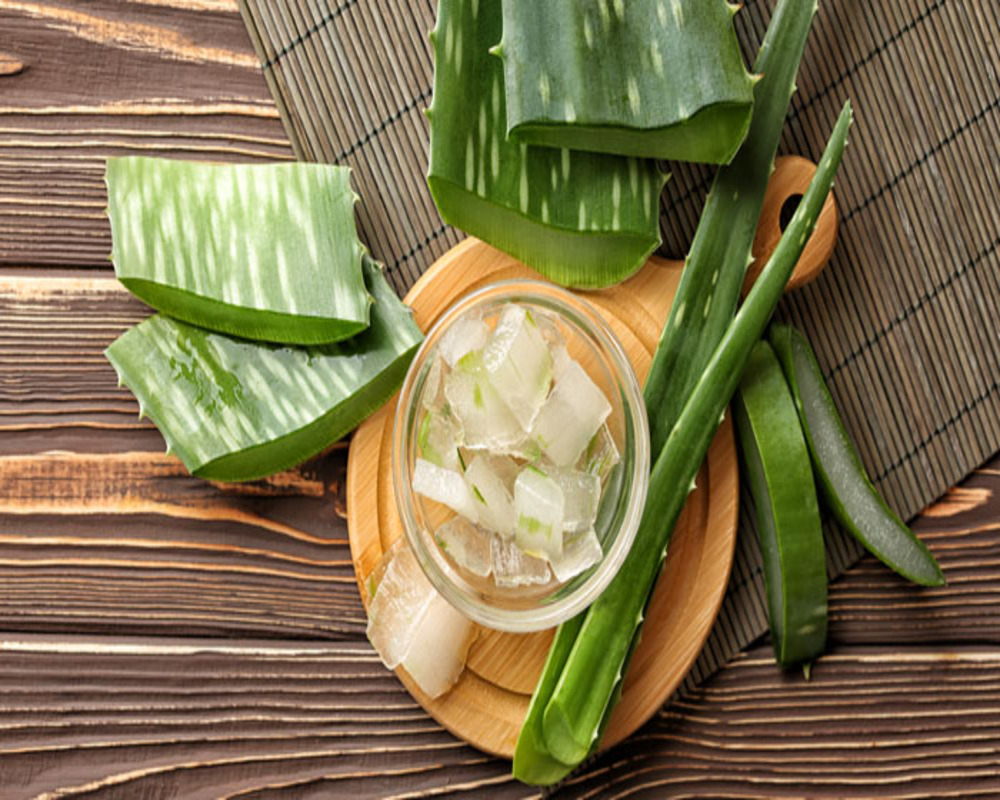
Ingredients:
- Fresh aloe vera leaf or store-bought aloe vera gel
- Optional: 1-2 drops of essential oil (such as lavender or tea tree oil)
Steps:
Prepare the Aloe Vera Gel: If you’re using a fresh aloe vera leaf, carefully cut a small section from the leaf. Wash the leaf thoroughly and then slice it open lengthwise to reveal the gel inside. Scoop out the gel using a spoon and transfer it to a clean bowl. If you’re using store-bought aloe vera gel, simply measure out the desired amount into a bowl.
Optional: Add Essential Oil: If you’d like to enhance the benefits of the mask, you can add 1-2 drops of your favorite essential oil to the aloe vera gel. Essential oils like lavender or tea tree oil are popular choices for their soothing and antimicrobial properties. Mix the essential oil into the aloe vera gel until well combined.
Cleanse Your Face: Before applying the mask, wash your face with a gentle cleanser to remove any dirt, oil, or makeup. Pat your skin dry with a clean towel.
Apply the Mask: Using clean fingers or a brush, apply an even layer of the aloe vera gel mask to your face, avoiding the delicate eye area. You can also apply the mask to your neck and décolletage if desired.
Let it Sit: Once applied, leave the mask on your skin for about 15 to 20 minutes to allow the aloe vera gel to work its magic. During this time, you may experience a cooling sensation, which is normal and quite refreshing.
Rinse Off: After the designated time has passed, rinse off the mask thoroughly with lukewarm water. You may need to use a washcloth or gentle scrubbing motion to remove any residue from the mask.
Moisturize: Once you’ve rinsed off the mask, pat your skin dry with a clean towel and follow up with your favorite moisturizer to lock in hydration. Aloe vera gel is hydrating on its own, but moisturizing afterward can help seal in moisture and keep your skin soft and supple.
Repeat Regularly: For best results, incorporate this aloe vera gel mask into your skincare routine once or twice a week. Consistent use can help soothe and hydrate the skin, reduce inflammation, and promote a healthy, glowing complexion.
Aloe vera gel is generally safe for most skin types, but if you have sensitive skin or experience any irritation, it’s always a good idea to do a patch test before applying the mask to your entire face. If irritation occurs, discontinue use immediately.
CUCUMBER FACE MASK
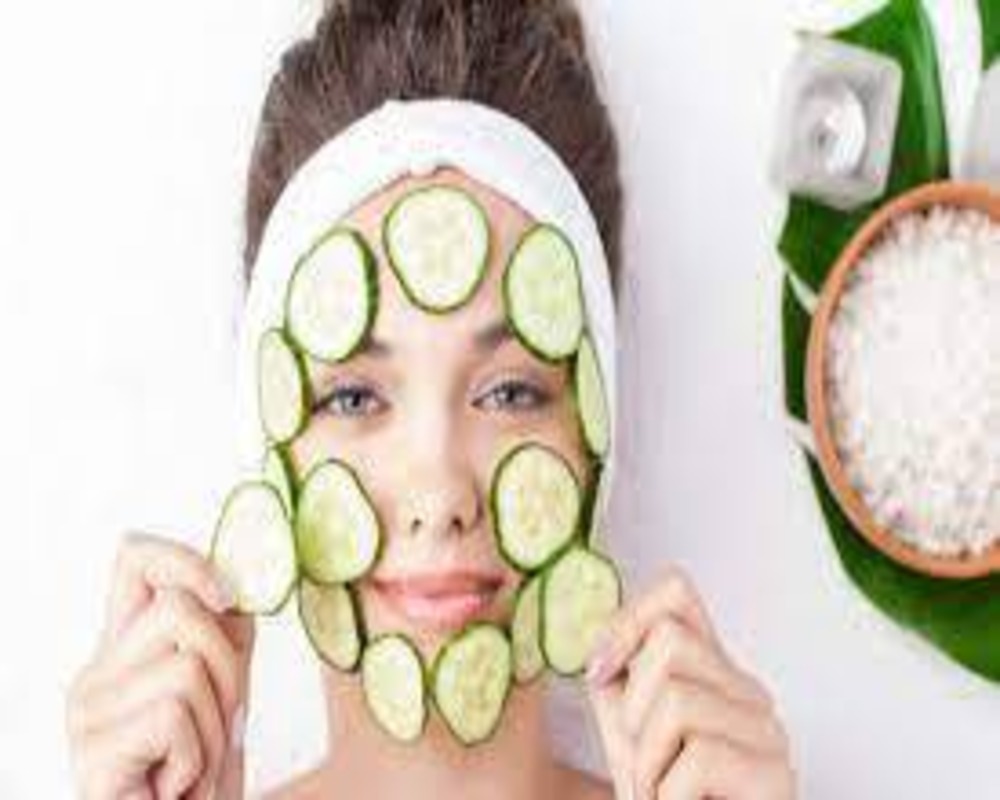
Ingredients:
- 1/2 cucumber
- 1 tablespoon plain yogurt or milk
- 1 tablespoon honey (optional)
Steps:
Prepare the Cucumber: Start by washing the cucumber thoroughly to remove any dirt or impurities. Then, slice the cucumber into chunks.
Blend the Ingredients: Place the cucumber chunks into a blender or food processor. Add the plain yogurt or milk to the blender. If desired, you can also add honey for its moisturizing properties. Blend the ingredients until you have a smooth, creamy consistency.
Apply the Mask: Using clean fingers or a brush, apply an even layer of the cucumber mask to your face, avoiding the delicate eye area. You can also apply the mask to your neck and décolletage if desired.
Relax: Once applied, take some time to relax and let the mask work its magic. Lie down and close your eyes, or sit back and enjoy a few moments of tranquility.
Let it Sit: Leave the mask on your skin for about 15 to 20 minutes to allow the ingredients to penetrate and nourish your skin. During this time, you may feel a cooling sensation from the cucumber, which can help soothe and refresh the skin.
Rinse Off: After the designated time has passed, rinse off the mask thoroughly with lukewarm water. You may need to use a washcloth or gentle scrubbing motion to remove any residue from the mask.
Moisturize: Once you’ve rinsed off the mask, pat your skin dry with a clean towel and follow up with your favorite moisturizer to lock in hydration. Cucumber is hydrating on its own, but moisturizing afterward can help seal in moisture and keep your skin soft and supple.
Repeat Regularly: For best results, incorporate this cucumber face mask into your skincare routine once or twice a week. Consistent use can help soothe and hydrate the skin, reduce inflammation, and promote a healthy, glowing complexion.
Cucumber is known for its cooling and hydrating properties, making it an excellent ingredient for soothing irritated or sensitive skin. This mask is suitable for all skin types and can help refresh and rejuvenate your complexion.
GREEN TEA STEAM
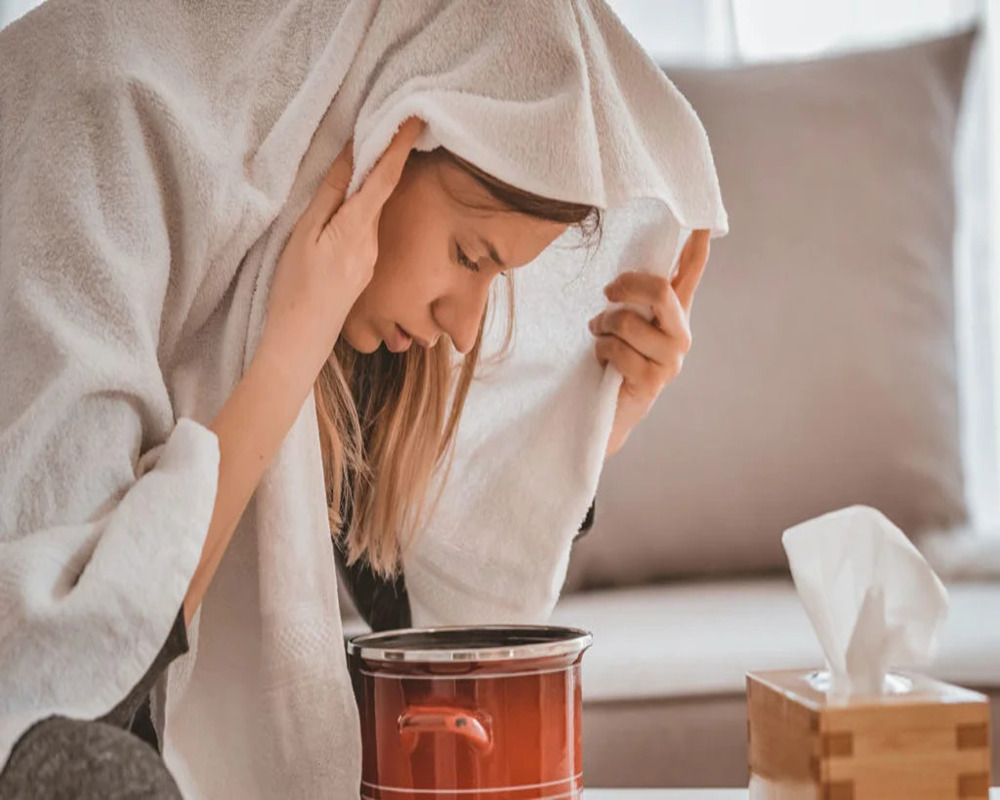
Ingredients:
- 2-3 cups of water
- 2-3 green tea bags or 2-3 teaspoons of loose green tea leaves
Steps:
Boil Water: Start by boiling 2-3 cups of water in a pot on the stove. You’ll need enough water to create steam, so make sure the pot is large enough to accommodate your face comfortably.
Add Green Tea: Once the water comes to a boil, remove the pot from the heat and add 2-3 green tea bags or 2-3 teaspoons of loose green tea leaves to the hot water. Allow the tea to steep for a few minutes to release its beneficial compounds.
Create a Tent: Carefully position your face over the pot of steaming water, but be cautious not to get too close to avoid burning yourself. You can drape a towel over your head to create a tent that traps the steam, ensuring it envelops your face.
Inhale and Relax: Close your eyes and inhale deeply, allowing the steam to penetrate your pores and loosen any dirt, oil, or impurities trapped in your skin. Take slow, deep breaths and relax for 5-10 minutes as you enjoy the calming effects of the green tea steam.
Finish and Rinse: After 5-10 minutes, remove your face from the steam and gently pat your skin dry with a clean towel. Be careful not to rub too harshly, as your skin may be sensitive from the steam. Follow up with your regular skincare routine.
Optional: Exfoliate or Apply a Mask: While your pores are still open from the steam, it’s an ideal time to exfoliate your skin or apply a face mask to further purify and rejuvenate your complexion. Choose products that suit your skin type and concerns for the best results.
Moisturize: Finish your skincare routine by applying a moisturizer to hydrate and protect your skin. Green tea steam can be slightly drying for some skin types, so it’s essential to replenish moisture afterward.
Repeat as Needed: You can incorporate green tea face steaming into your skincare routine once or twice a week, depending on your skin’s needs. Consistent use can help purify your pores, reduce inflammation, and promote a healthy, glowing complexion.
Green tea is rich in antioxidants and has anti-inflammatory properties, making it an excellent choice for facial steaming. This simple at-home treatment can help detoxify and rejuvenate your skin, leaving it feeling refreshed and revitalized.
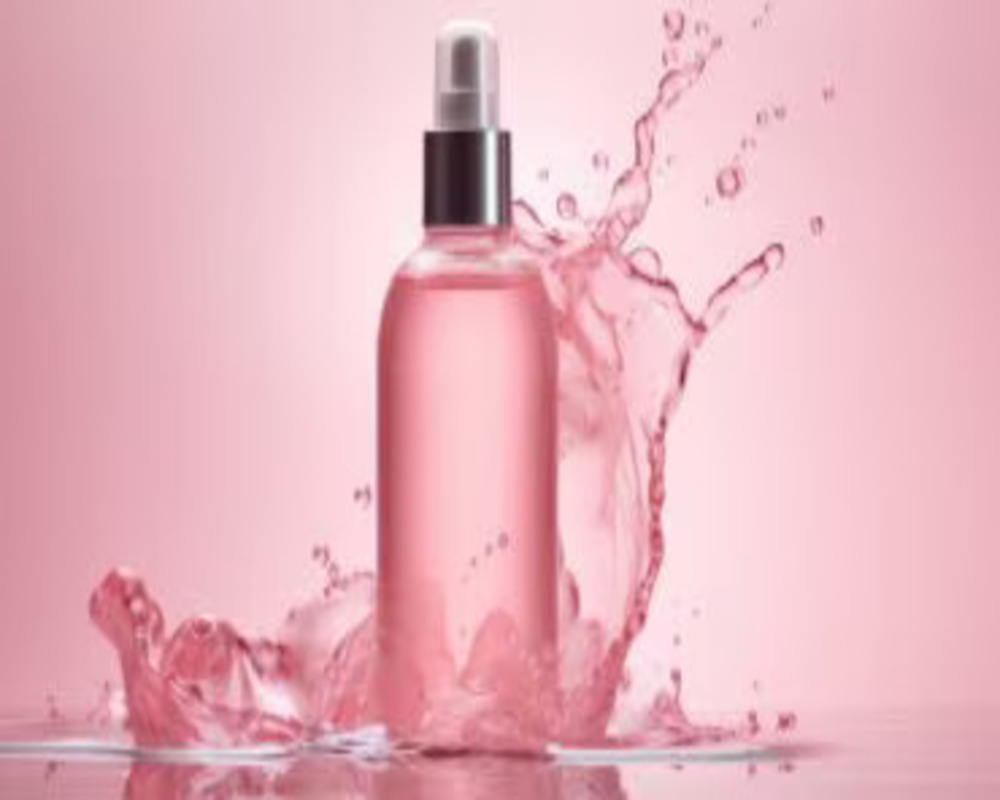
ROSE WATER TONER
Ingredients:
- Fresh rose petals (about 1 cup)
- Distilled water (2 cups)
- Optional: Essential oil (such as rose or lavender)
Steps:
Prepare the Rose Petals: Start by gathering fresh rose petals. Ensure they are clean and free from pesticides or other chemicals. You can use roses from your garden or purchase organic roses from a florist.
Boil the Water: In a pot, bring 2 cups of distilled water to a gentle boil. Distilled water is preferred as it is free from impurities that may affect the quality of the rose water.
Add the Rose Petals: Once the water comes to a boil, add the fresh rose petals to the pot. Reduce the heat to low and let the petals simmer in the water for about 20-30 minutes. This allows the water to absorb the essence and properties of the roses.
Strain the Mixture: After simmering, remove the pot from the heat and let the rose water cool slightly. Then, strain the mixture using a fine mesh strainer or cheesecloth to separate the rose petals from the liquid. Discard the rose petals or compost them if desired.
Add Optional Essential Oil: If you’d like to enhance the fragrance and benefits of the rose water, you can add a few drops of your favorite essential oil, such as rose or lavender. Stir the essential oil into the rose water until well combined.
Transfer to a Bottle: Pour the rose water into a clean, sterilized bottle or glass jar for storage. A dark-colored glass bottle is ideal to protect the rose water from light exposure, which can degrade its quality over time.
Store Properly: Seal the bottle tightly and store it in a cool, dark place, such as a refrigerator. Proper storage helps prolong the shelf life of the rose water and maintains its freshness.
Use as a Toner: To use the rose water toner, pour a small amount onto a cotton pad or ball and gently swipe it across your face and neck after cleansing. Rose water helps balance the skin’s pH, hydrate, and refresh the complexion.
Enjoy: Incorporate this homemade rose water toner into your daily skincare routine for a luxurious and refreshing experience. Its natural properties can help soothe and rejuvenate your skin, leaving it feeling soft, supple, and radiant.
This homemade rose water toner is free from harsh chemicals and preservatives, making it suitable for all skin types, including sensitive skin. Plus, it’s a delightful way to pamper yourself and indulge in the beauty of nature’s bounty.